How To Make Plantable Seed Paper At Home
Things You'll Need
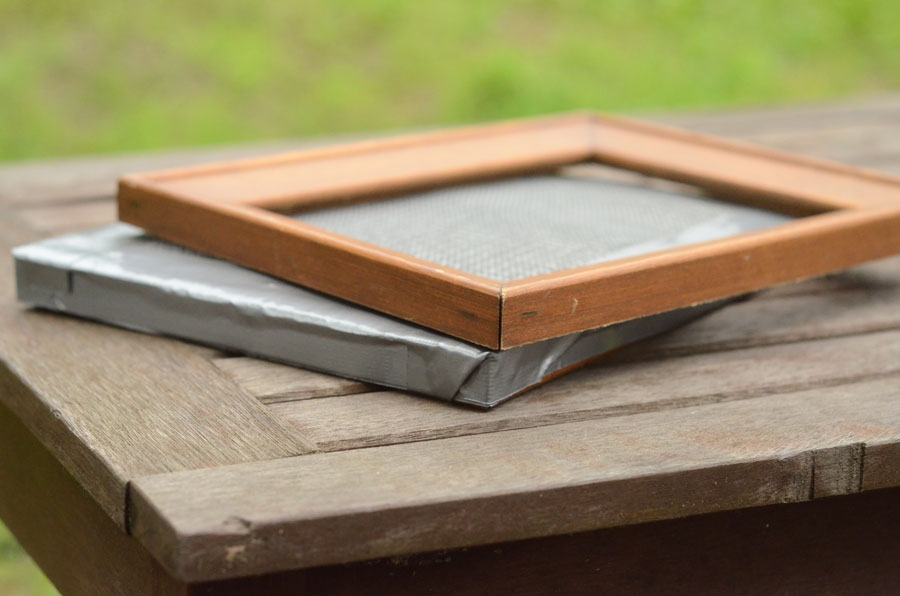
* Please note the paper screen (otherwise known as a Mould & Deckle) is required but don’t worry, you can make one of these using picture frames and some mesh. Buying a mould & deckle is optional but will help you create a more professional finish to your seed paper.
- Cups of recyclable paper (3-4)
- Seeds of your choice
- Some warm water in a container
- Terry cloth, dishcloth or micro fibre towel
- *Paper screen (Mould & Deckle)
- Strainer
- Sponge
Preparing your Paper Pulp
Recycled Paper
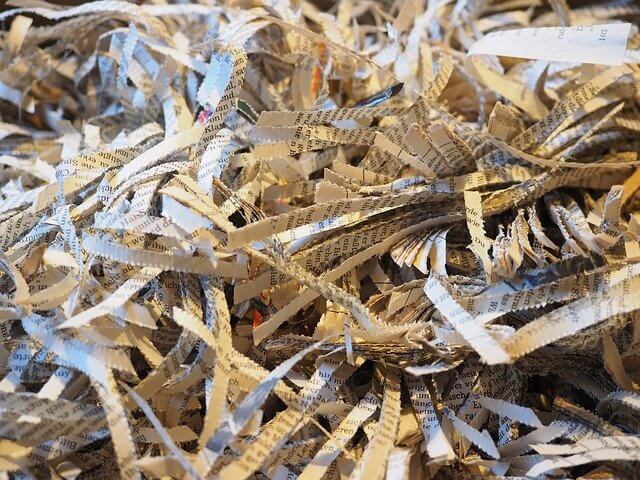
Collect up any old paper you can get your hands on. This can take the form of newspapers, napkins, discarded receipts, egg cartons, paper grocery bags and any of that unsolicited mail you receive.
Soak the Paper
Tear all the waste paper into small pieces and soak it in water for around 10-15 minutes. You can use this time to find and prepare your blender. Don’t use a blender that you use for food.
Blitz the Paper
Time to blitz the paper in a blender. Avoid using one that’s used for food as you don’t want waste paper in your dinner and nobody wants poppy seeds in their smoothie.
Blending your Paper
Once your paper has soaked for approximately 15 minutes you can begin to turn your mixture into a pulp. To achieve this begin blending on a low setting for 10-15 seconds, this will break down all of the larger pieces of paper before increasing the blenders intensity for around 30 seconds to ensure all of the paper is properly pulped.
Pro Tip: Never add your seed mix pre-blending, the seeds will be destroyed in the process.
Create A Seed Mix For Your Plantable Paper
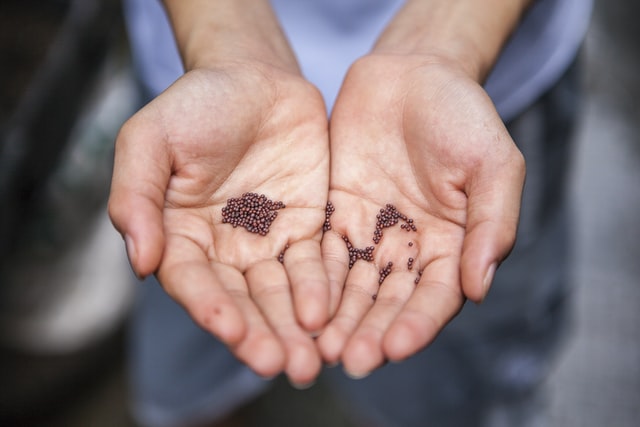
- You can use flower, vegetable or herb seeds
- We recommend native species
- Consider the time of year for planting
- Smaller seeds are easier to work with
- You can mix different varieties of seeds
- Think about pollinator friendly species
Stir & Strain
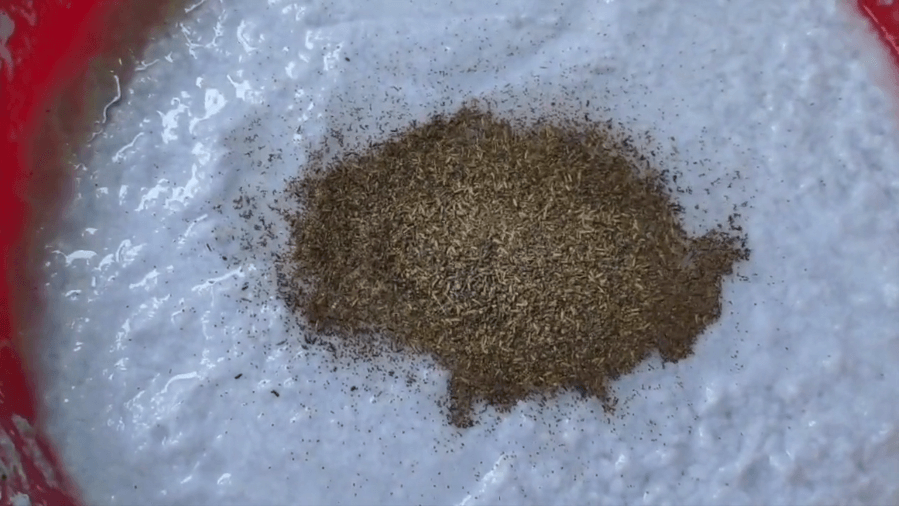
Use your hands or a spoon to apply pressure to the mixture and squeeze out the water. Don’t apply too much pressure to avoid damaging the seeds.
Spread out your Paper
Using a flat surface spread out your Terry cloth, dishcloth or microfibre towel. Extract and spread your mixture thinly across the surface of your cloth or towel. Use your sponge to flatten out any uneven areas and soak up any excess water left in your paper.
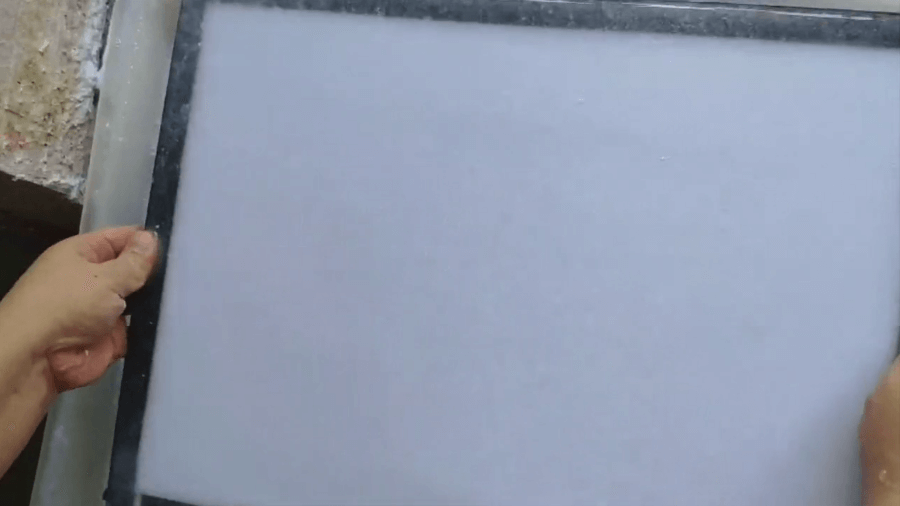
*If you have a Mould & Deckle (as pictured) available you can use it to replace the cloth or towel and produce seed paper in a perfect rectangle with a much more consistent finish. We aim to make a detailed guide on how to use a Mould & Deckle for seed paper soon.
Drying Time
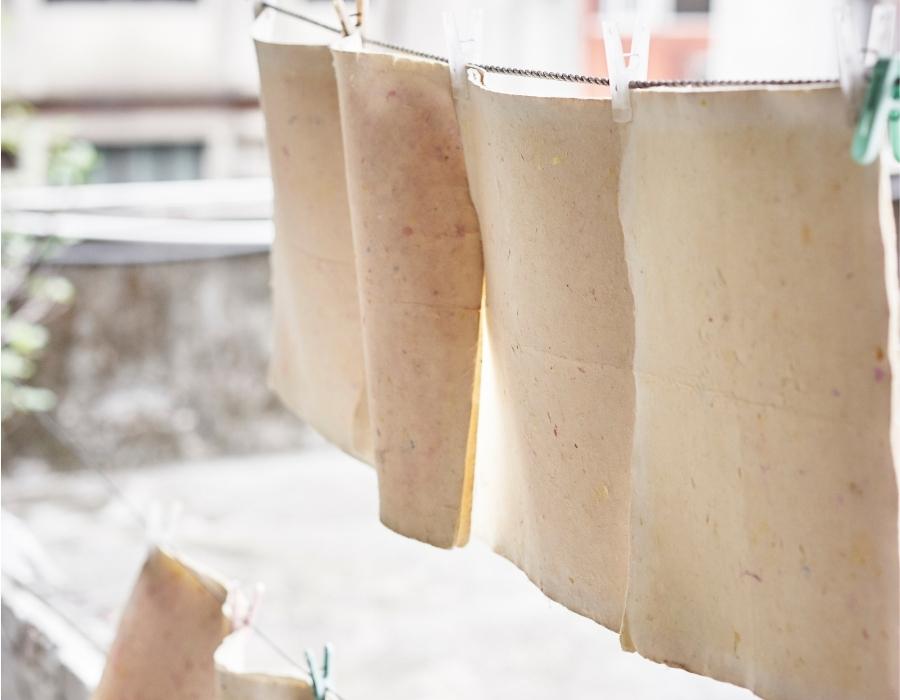
After you have sponged off your seed paper and flattened it suitably you can leave it to dry for a few hours until completely dry on one side. After this occurs flip over your seed paper and dries the opposite side for a few more hours.
Once the drying process is complete you’re all set to start cutting, crafting or painting your plantable paper creations.
Frequently Asked Questions
When seeds are embedded in paper it creates a barrier that the seeds will need to break through to germinate and bloom. By keeping the paper wet you reduce the rigidity of the paper allowing your seeds to grow.
Yes, properly made seed paper is perfect for growing flowers of all varieties. Due to the medium used to contain the seeds (paper) you will be required to water more regularly than you would if you just planted the seeds.
After a few days your paper will decompose leaving just plant and flowers in it’s wake.
In the UK you can plant your wildflower seed paper in early Spring (March-April) or early Autumn (September) to bloom the following year.
Thera re numerous reasons why your seed paper my not grow from soil quality to pets and insects. It’s also important to remember some wildflowers of the biennial variety will not bloom until their second year.
Custom Print
We can provide custom printing on any of our plantable paper
Secure Payment
Bank transfer or we use Stripe for secure online payments
Fast Delivery
Options include 48 hour delivery or 7-10 days.
Order Tracking
ALL orders are sent via recorded tracked delivery

